But instead, I'm outside digging for potatoes. I'm angry at
the weather for its betrayal, the spuds for not digging themselves (read: not having anyone to dig them with), me for not doing this sooner.
Another job I didn't get to this season.
I push myself to stand, shove the spade into the earth and take chunks out
of the first clump of potatoes. Dammit. I can't even dig potatoes right. I
drop back to my knees, fumble around behind me for the hand trowel, sit back on
my heels and take a deep breath. Fucking relax and just dig. Not everything has
to be a battle.
And so I begin, scraping away at the top layers of soil
with the trowel, tentatively at first, until I unearth the tops of the spuds.
Then gently, now using my fingers, I dig around the edges until I can scoop
each one by hand. It's a good crop this year -- plentiful, creamy-skinned, blemish
free, spared from blight or the ravenous potato beetles. And delicious. (I know this from having grabbled* a few for Thanksgiving.)
Potatoes that taste of the sweet earth.
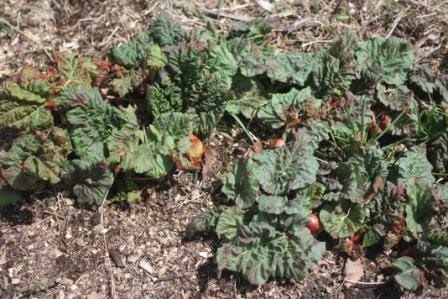
I've grown a small crop of potatoes for the past few years and
harvest still leaves me a bit wonderstruck. Like a kid again. Earlier in the season you
dig a trench, layer in compost, plant cured chunks of potato with at least
one eye each, and then hill the plants with soil or mulch as they grow. For each
chunk planted, several potatoes grow, the number dependent on moisture, soil nutrients and
temperature. Perhaps love. One becomes many. Nature replicated.
As I work I relax into the task, like walking meditation, but
digging. I think less of the couch and more about where I am. In my garden, on
my farm, surrounded by hundreds of acres of woods, a place I dreamed about for
years. The biting wind and my cold and cramped knees become less nuisance, and
more a reminder that I'm alive. Here. Right now. In a life I chose. Yes, this
moment is a choice. And the next moment, and the next. I can moan about the
cold and the work and being alone, or celebrate this place and the food I've grown. Will continue to grow, for I'm already thinking about next season.
I feel the darkness lessen its grip. Gifts from the earth. Real buried treasure.

* Grabble: v. to rob potatoes here and there from the edges of the hills.